
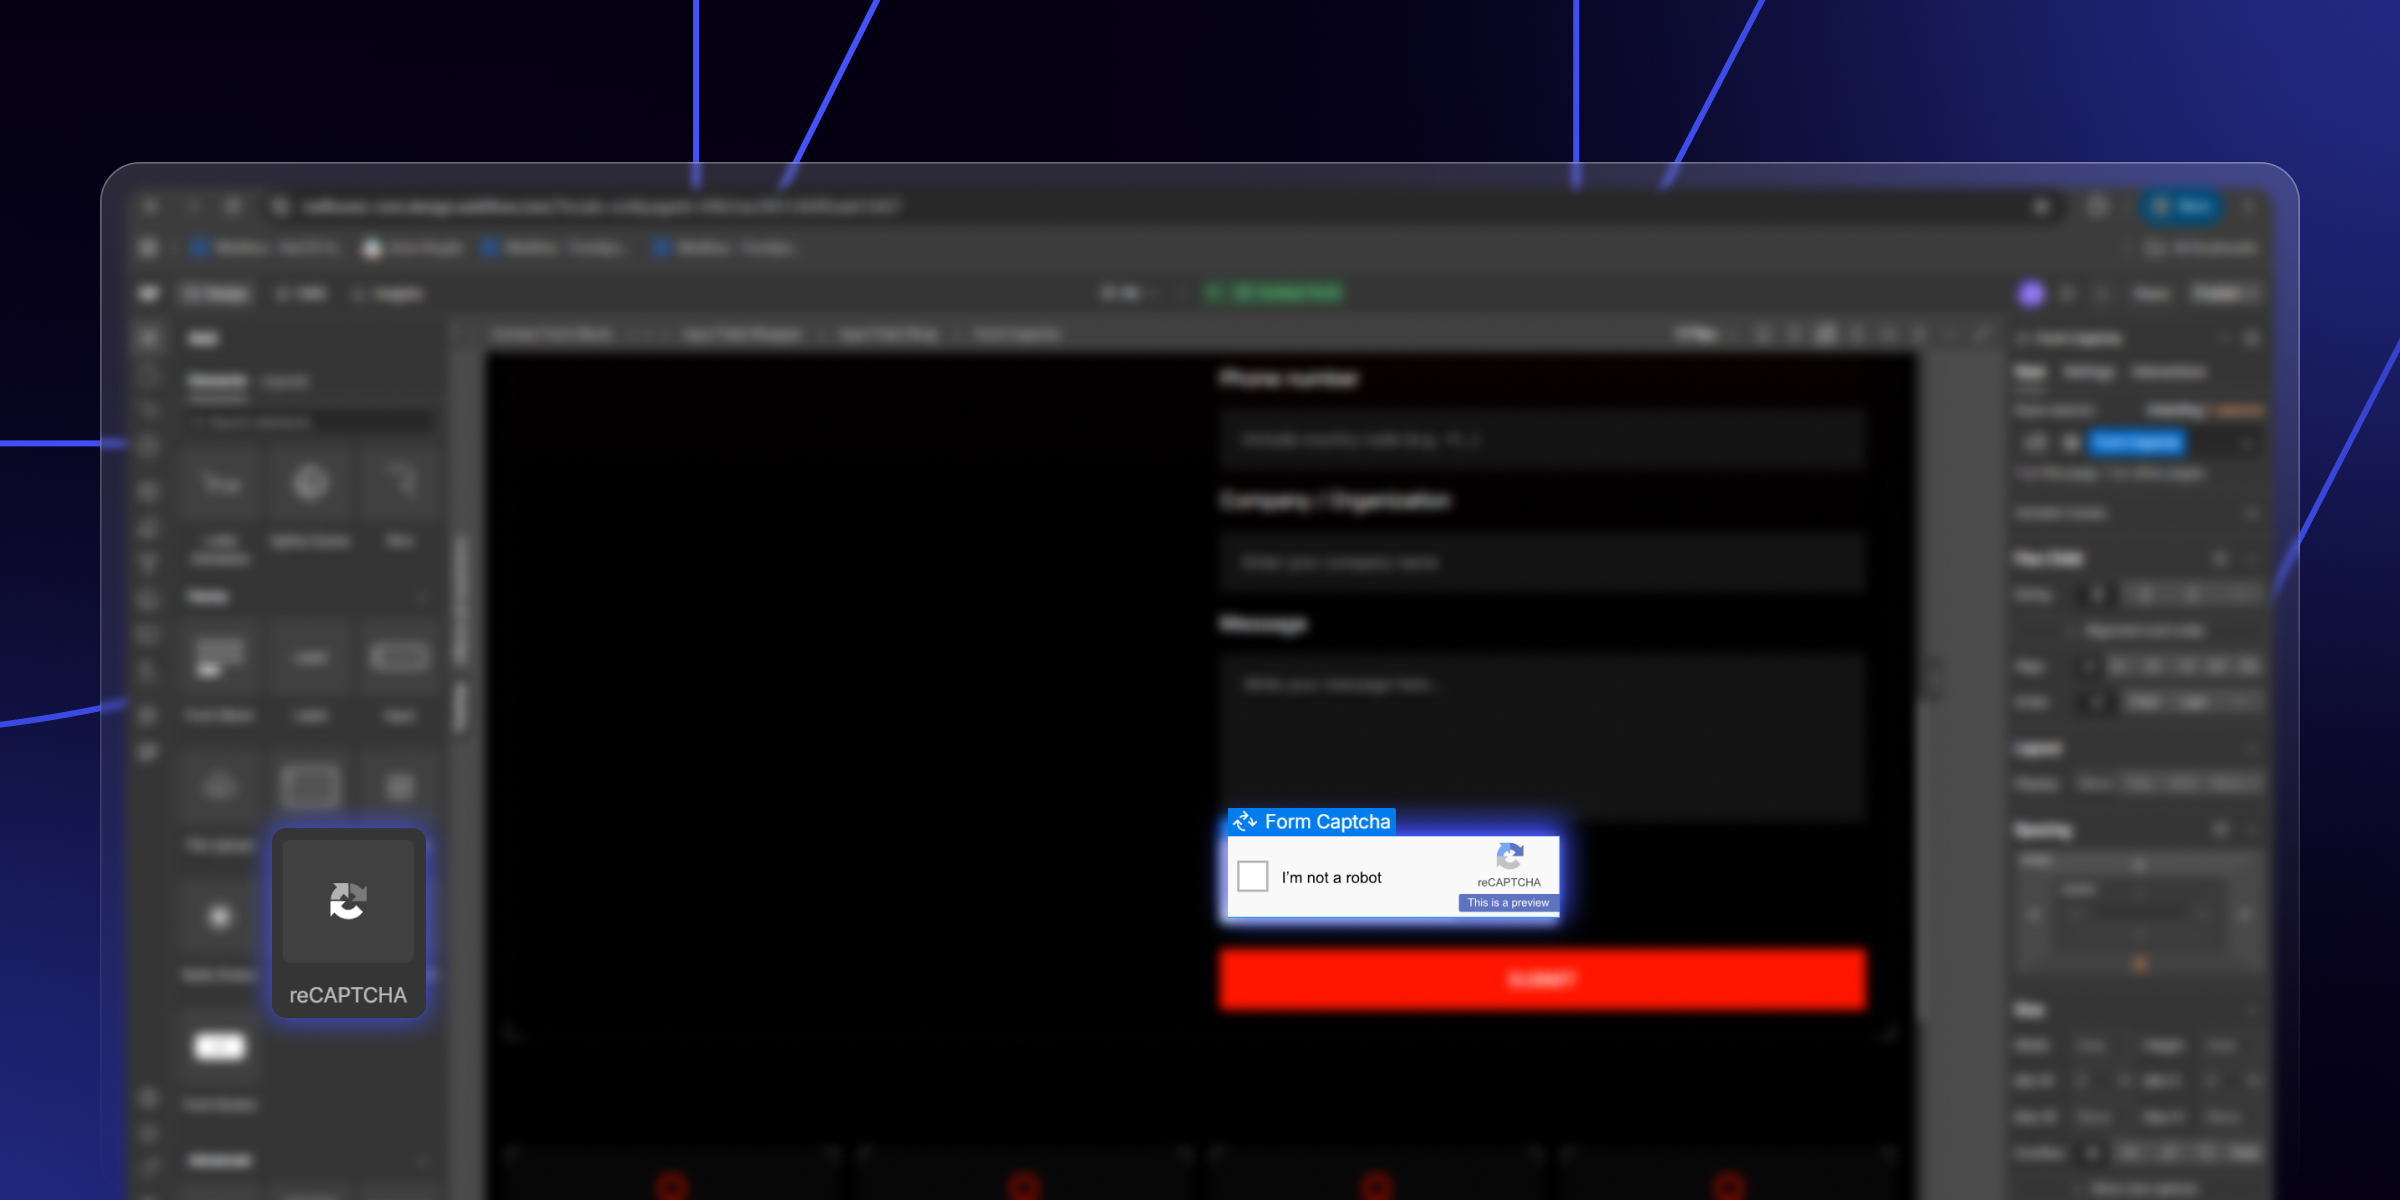
Spam bots love to fill out contact forms. One easy way to stop them is reCAPTCHA, a check from Google. Webflow has a built-in reCAPTCHA feature, so setup takes just a few steps. This guide shows you how to add reCAPTCHA to Webflow forms, and how to fix the common issues.
We build and protect Webflow forms for clients at theCSS Agency. These are the exact steps our team uses.
What Is reCAPTCHA and Why Use It on Webflow Forms?
reCAPTCHA is a free tool from Google that tells humans and bots apart. The common version shows an "I'm not a robot" checkbox. Real users pass with one click, while most bots fail.
Adding Webflow captcha to your forms cuts spam fast. It blocks the automated bots that flood forms with junk. That keeps your inbox clean and your leads real. It is one of the simplest ways to protect any form.
Does Webflow Have Built-In reCAPTCHA?
Yes. Webflow includes a built-in Google reCAPTCHA feature for forms. It uses reCAPTCHA v2, the "I'm not a robot" checkbox. You do not need custom code to set it up.
This Google Recaptcha Webflow feature works on Webflow-hosted sites. You add your keys once, then drop the element into any form. After that, Webflow handles the check on each submit. It is the fastest spam guard you can add.
What You Need Before You Start
Setup is quick, but gather these first. They make the process smooth.
- A Google account to create your reCAPTCHA keys.
- Your live domain name, like yourbrand.com.
- Your Webflow staging URL, like your-site.webflow.io.
- Access to your Webflow Site Settings.
With these ready, the setup takes only a few minutes.
How to Add reCAPTCHA to Webflow Forms
Follow these four steps in order. Each one is short and clear.
Step 1: Create reCAPTCHA Keys in Google
First, you create a pair of keys in Google. These keys link your site to reCAPTCHA.
- Go to the Google reCAPTCHA admin console and sign in.
- Register a new site with a clear label.
- Choose reCAPTCHA v2, then the "I'm not a robot" checkbox.
- Add your domains, both your live domain and your webflow.io URL.
- Accept the terms and submit.
- Copy the recaptcha site key and the secret key.
Keep both keys handy for the next step. The site key is public, but keep the secret key private.
Step 2: Add Your Keys in Webflow Site Settings
Next, you add the keys inside Webflow. This connects your site to Google.
- Open your project and go to Site Settings.
- Click the Forms tab.
- Find the reCAPTCHA section.
- Paste your site key and secret key.
- Save your changes.
Now Webflow knows your reCAPTCHA keys. This step powers the check behind the scenes.
Step 3: Add the reCAPTCHA Element to Your Form
Now you add the visible checkbox to your form. This is the part users see.
- Open the page with your form in the Designer.
- Open the Add panel and find the reCAPTCHA element under Forms.
- Drag it inside your form, above the submit button.
- Use only one reCAPTCHA element per form.
The checkbox now sits in your form. It will show once you publish the site.
Step 4: Publish and Test
The last step is to publish and test. reCAPTCHA only runs on the live site.
- Click Publish to push your site live.
- Open the live page, not the preview.
- Confirm the "I'm not a robot" checkbox shows.
- Submit a test to make sure the form still works.
If the checkbox shows and the form submits, you are done. Your Webflow form recaptcha is now live and blocking bots.
reCAPTCHA v2 vs reCAPTCHA v3 in Webflow
Google offers two main versions, and the difference matters. reCAPTCHA v2 shows the checkbox that users click. Webflow's built-in feature uses this Recaptcha v2 version.
reCAPTCHA v3 is different and invisible. It scores each visitor in the background with no click. Webflow does not support v3 in its native feature. To use v3, you need custom code and a developer. For most sites, the built-in v2 is enough.
Does reCAPTCHA Work on Exported Webflow Sites?
No. Webflow's built-in reCAPTCHA works only on Webflow-hosted sites. It relies on Webflow's own form handling to check each submit. When you export your code, you lose that form handling.
So if you host your site elsewhere, the native reCAPTCHA will not work. You would need to set up reCAPTCHA yourself with custom code. For sites hosted on Webflow, the built-in feature is all you need.
Troubleshooting: reCAPTCHA Not Showing or Not Working
Setup issues are common but easy to fix. Here are the top causes of Webflow recaptcha not working.
The reCAPTCHA checkbox does not show.
If the checkbox is missing, run through this list. One of these is almost always the cause.
- You did not publish the site. Publish, then check the live page.
- The keys are not saved. Re-check Site Settings under Forms.
- The element is not in the form. Add it above the submit button.
- You chose the wrong version in Google. It must be reCAPTCHA v2 Checkbox.
You See a Domain Mismatch Error
reCAPTCHA checks the domain against your Google settings. If they do not match, it fails. Open the Google reCAPTCHA admin and add your domains. Include both your live domain and your webflow.io URL.
This error is common right after launch. It often means you added only one domain, not both. Save the domains in Google, then reload your live page to test again.
The Form Still Gets Spam
reCAPTCHA v2 stops most bots, but not every one. Some advanced bots still slip through. Add a second layer, like a honeypot field, for stronger protection. Together, they block almost all spam.
A honeypot is a hidden field that only bots fill. When it has a value, you block that submission. This silent check pairs well with reCAPTCHA and adds no friction for real users.
It Works in Preview but Not Live
This one is a trick, since it is the reverse. reCAPTCHA does not run in Preview at all. It only runs on the published, live site, so always test there.
So do not judge reCAPTCHA from the Designer or Preview. Publish the site first, then open the real URL. The checkbox appears only on the published page.
reCAPTCHA Plus Other Spam Protection
reCAPTCHA is strong, but one layer is rarely perfect. The best setup uses two or three checks together. Pair reCAPTCHA with a hidden honeypot field for a silent second guard.
You can also filter spam after submission with an automation tool. This catches anything that slips past the first checks. A layered setup keeps your forms clean with little effort.
Best Practices for Webflow reCAPTCHA
Use these tips to keep your forms secure and easy to use.
- Add both your live domain and staging URL in Google.
- Keep your secret key private, and never share it.
- Use one reCAPTCHA element per form, not more.
- Test every form on the live site after setup.
- Pair reCAPTCHA with a honeypot for extra protection.
Conclusion
Adding reCAPTCHA to Webflow forms is quick and worth it. Create your v2 keys in Google, add them in Site Settings, and drop the reCAPTCHA element into your form. Then publish and test on the live page. That simple setup blocks most spam bots.
If the checkbox does not show, check your keys, your domains, and that you published. For even stronger protection, add a honeypot field too. With these steps, your forms stay clean and your leads stay real.
Need help setting up secure, spam-free Webflow forms? theCSS Agency builds and maintains custom Webflow sites for SaaS and B2B teams. Book a call to protect your forms and your inbox.
FAQs
1. How do I add reCAPTCHA to a Webflow form?
Create reCAPTCHA v2 keys in the Google admin, then paste them in Webflow Site Settings under Forms. Add the reCAPTCHA element to your form, then publish and test the live page.
2. Does Webflow have built-in reCAPTCHA?
Yes. Webflow includes a built-in reCAPTCHA v2 feature. You add your Google keys in Site Settings, then drop the reCAPTCHA element into your form.
3. Does Webflow support reCAPTCHA v3?
No. Webflow's built-in feature uses reCAPTCHA v2, the checkbox version. To use the invisible v3, you need Webflow custom code and a developer.
4. Why is my Webflow reCAPTCHA not showing?
Most often the site is not published, the keys are not saved, or the element is not in the form. Publish the site and check each of these on the live page.
5. Does reCAPTCHA work on exported Webflow sites?
No. The built-in reCAPTCHA works only on Webflow-hosted sites, since it uses Webflow's form handling. Exported sites need their own reCAPTCHA setup.
6. Do I need custom code to add reCAPTCHA in Webflow?
No. Webflow's built-in reCAPTCHA v2 needs no custom code. You only add your keys and the reCAPTCHA element, then publish.
7. Will reCAPTCHA stop all form spam?
No. reCAPTCHA v2 stops most bots, but not every one. Pair it with a honeypot field and post-submission filters for near-complete protection.

.jpg)