To add a range slider in Webflow, use an Embed element with an HTML range input for a single value. For a no-code price filter, use the Finsweet Range Slider Attribute. For a dual-handle price range slider with a minimum and maximum, use the noUiSlider library with a short script. Webflow has no native range slider, so each method uses an Embed or custom code. Style the track and handle with CSS to match your brand.
A range slider lets people pick a value by dragging a handle. You see it in price filters, settings, and forms. Webflow does not include a range slider by default. But you can add one in a few minutes with an Embed and a little code. This guide covers three methods, from a simple single-value slider to a full price range filter.
We build custom Webflow features like this for clients every week at theCSS Agency. These are the exact methods our team uses.
What Is a Range Slider?
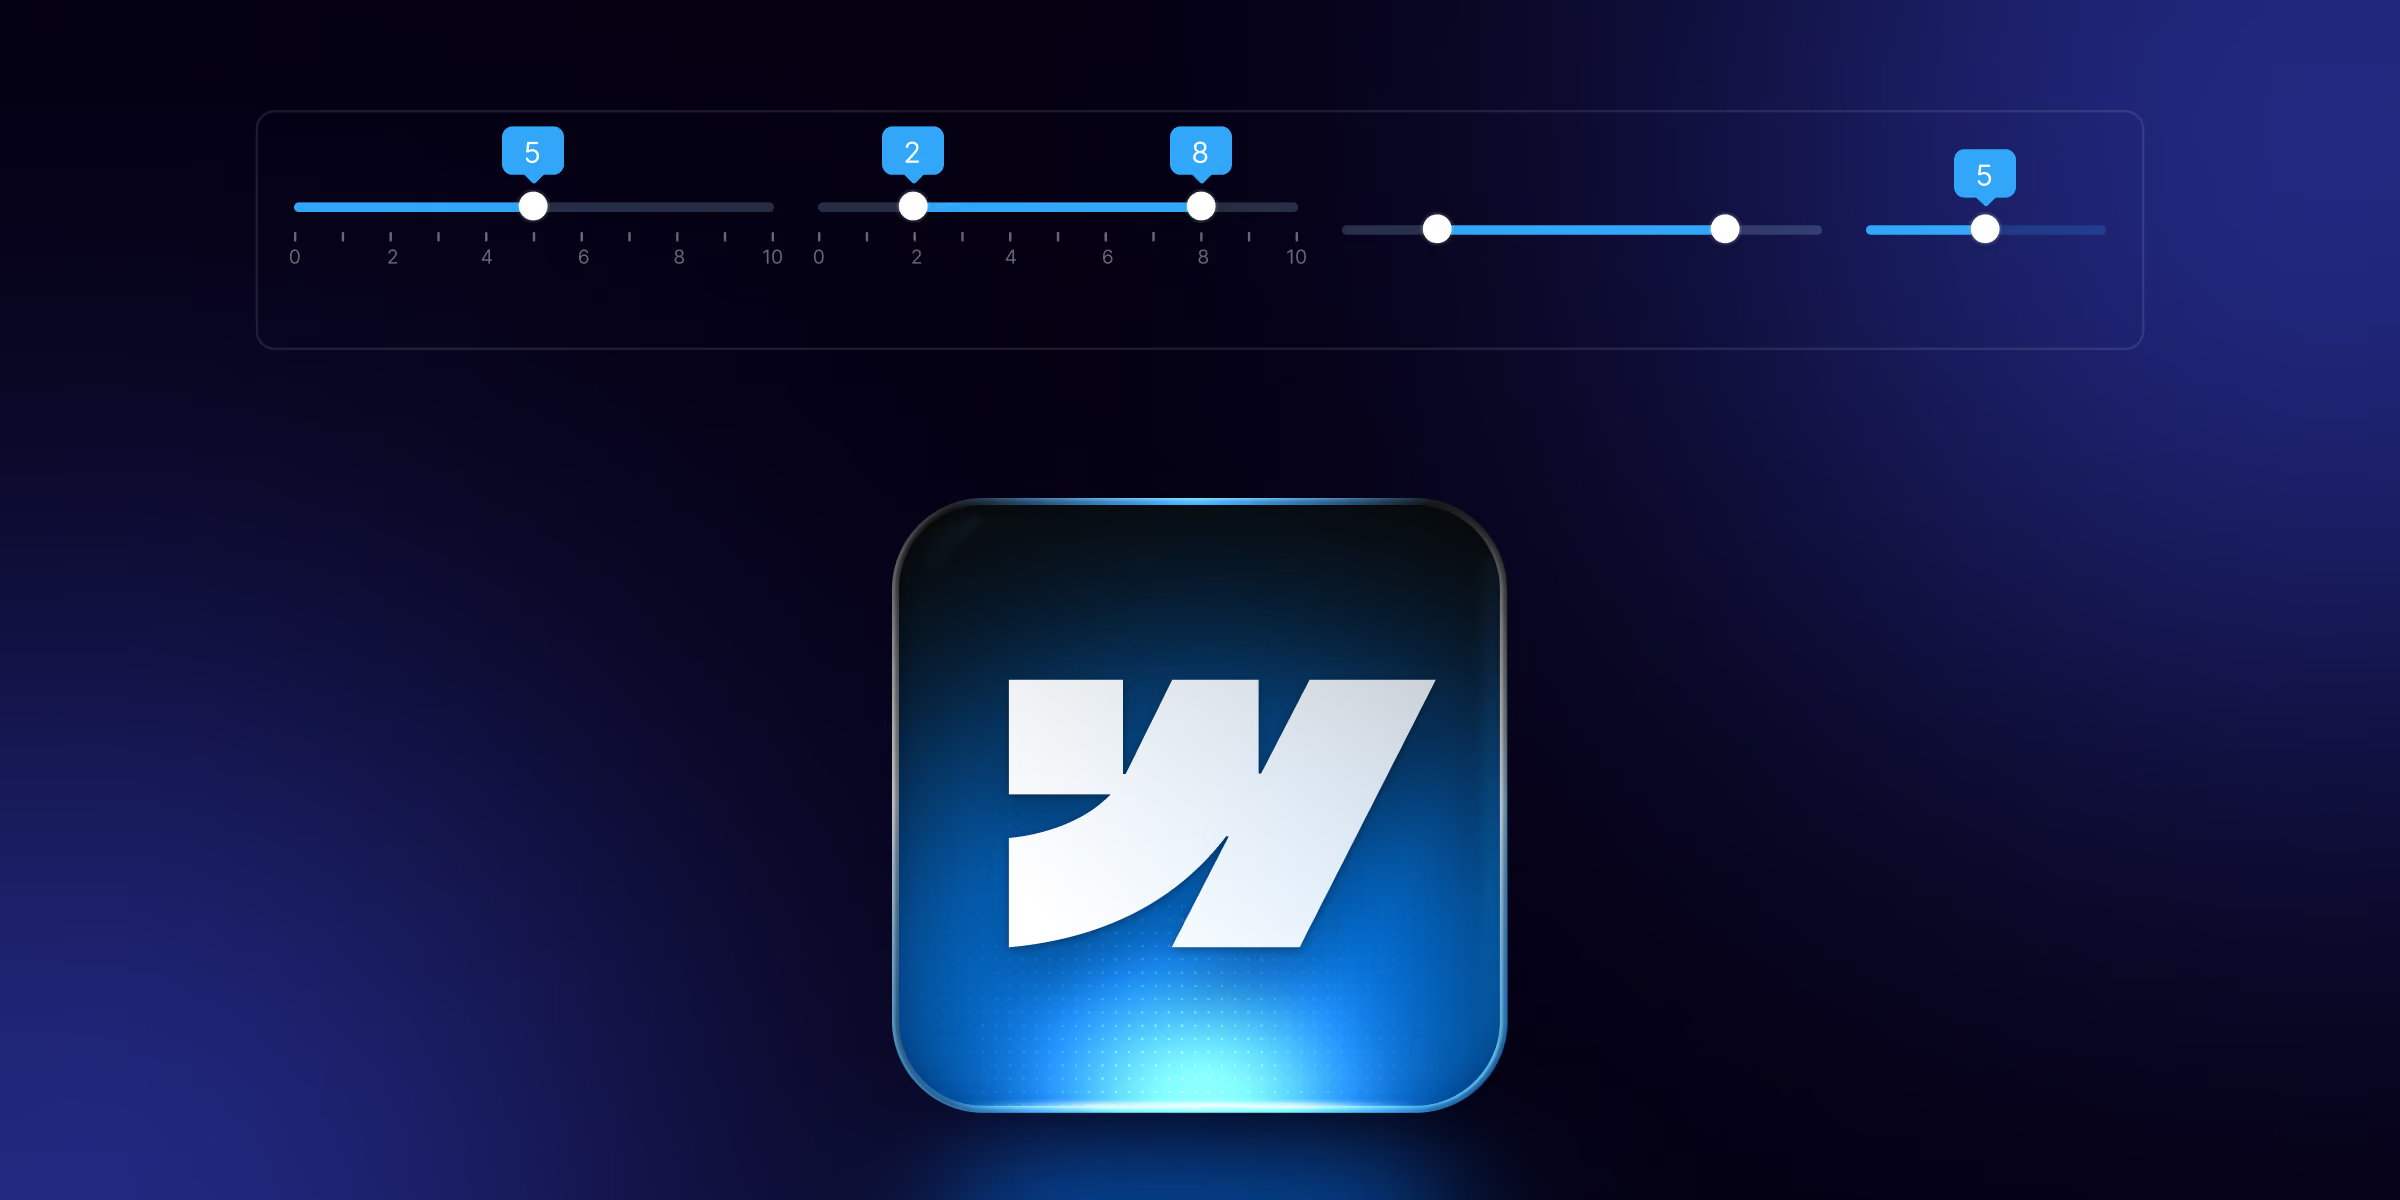
A range slider is an input control with a track and a handle. The user drags the handle to choose a value. Some sliders have two handles to set a minimum and a maximum. That type is called a dual range slider.
A range slider is great for numbers with a clear scale. Think of a price filter from 0 to 500 dollars. Or a volume setting from 0 to 100. The handle gives fast, visual control over the value.
Range Slider vs Webflow's Slider Component
This is a common mix-up, so let us clear it up. Webflow has a built-in Slider component. That Slider is a carousel that shows slides of content, like images or cards. It is not a range slider.
A range slider is an input for picking a number. Webflow does not offer that as a native element. So you build it with an Embed and code, using one of the methods below. Keep this difference in mind as you search for help.
Common Uses for a Range Slider
A range slider fits any case where users choose from a scale. Here are the most common ones.
- Price filters: let shoppers set a budget range on a store or listing.
- Product filters: filter by size, weight, or rating.
- Settings: control volume, brightness, or zoom.
- Forms: collect a number, like a budget or a team size.
- Calculators: let users adjust an input and see a live result.
The price filter is the most popular use, so we cover it in detail below.
Does Webflow Have a Native Range Slider?
No. Webflow has no native range slider input in the Designer. You add a webflow range slider with custom code inside an Embed element, or with a helper tool like Finsweet Attributes. The good news is that each method is quick and works well once set up.
Method 1: Add a Range Slider With the HTML Range Input
The simplest way uses the native html range input. It needs no library and works in every browser. This method is best for a single value, like one price or one setting.
Step 1: Add an Embed Element
Drag an Embed element onto your page where you want the slider. Then paste the code below.
Step 2: Add the Range Input Code
<input type="range" min="0" max="100" value="50" class="my-range" id="priceRange">
<span id="rangeValue">50</span>
The min and max set the scale. The value sets the starting point. The span shows the current value next to the slider.
Step 3: Style the Track and Handle
The default slider looks plain. Add this CSS to style the track and the handle. Change the colors to match your brand.
<style>
.my-range {
  -webkit-appearance: none;
  width: 100%;
  height: 6px;
  border-radius: 999px;
  background: #e5e7eb;
  outline: none;
}
.my-range::-webkit-slider-thumb {
  -webkit-appearance: none;
  width: 20px;
  height: 20px;
  border-radius: 50%;
  background: #7c3aed;
  cursor: pointer;
}
.my-range::-moz-range-thumb {
  width: 20px;
  height: 20px;
  border-radius: 50%;
  background: #7c3aed;
  border: none;
  cursor: pointer;
}
</style>
The first block styles the track. The next two blocks style the handle for different browsers. This gives you a clean custom range slider webflow design.
Step 4: Show the Current Value
Add this script so the number updates as the user drags. It reads the slider and writes the value into the span.
<script>
const range = document.getElementById('priceRange');
const output = document.getElementById('rangeValue');
range.addEventListener('input', () => {
  output.textContent = range.value;
});
</script>
Now the value shows live. This is the fastest way to add a working range best Webflow site sliders.
Method 2: Add a Range Slider With Finsweet Attributes
Want a no-code option built for filters? Finsweet Attributes offers a Range Slider tool. It works well with a CMS list, so it is popular for a webflow pricing filter.
Step 1: Add the Finsweet Script
Get the Range Slider script from the Finsweet Attributes site. Add it to your page or site custom code, in the before body tag area.
Step 2: Build the Slider Structure
Add the elements Finsweet needs, like a wrapper, a handle, a track, a fill, and a value display. You tag each element with the Finsweet attribute it asks for. This tells the script how to build the slider.
Step 3: Set the Range and Steps
Use the Finsweet settings to set the minimum, maximum, and step. You can also format the display, like adding a dollar sign. Follow the current Finsweet docs for the exact attribute names, since they update over time.
Step 4: Connect It to a Filter
Pair the Range Slider with the Finsweet CMS Filter tool. Now users can drag the slider to filter a list by price. This gives you a full webflow slider filter with no custom scripts to write.
Method 3: Build a Dual-Handle Range Slider With noUiSlider
Need a min and a max, like a price from 20 to 80 dollars? Use noUiSlider, a free and lightweight library. It builds a smooth dual range slider with two handles.
Step 1: Add the noUiSlider Files
Add these two lines to your site custom code, in the head section. They load the library and its styles.
<link href="https://cdn.jsdelivr.net/npm/nouislider/dist/nouislider.min.css" rel="stylesheet">
<script src="https://cdn.jsdelivr.net/npm/nouislider/dist/nouislider.min.js"></script>
Step 2: Add the Slider Markup
Add an Embed element with a target div and a place to show the values.
<div id="priceSlider"></div>
<div>Min: <span id="minVal"></span> Max: <span id="maxVal"></span></div>
Step 3: Start the Slider With a Script
Add this script in the Embed, below the markup. It creates the slider and updates the values as the user drags.
<script>
var slider = document.getElementById('priceSlider');
noUiSlider.create(slider, {
  start: [20, 80],
  connect: true,
  step: 1,
  range: { min: 0, max: 100 }
});
var minVal = document.getElementById('minVal');
var maxVal = document.getElementById('maxVal');
slider.noUiSlider.on('update', function (values) {
  minVal.textContent = Math.round(values[0]);
  maxVal.textContent = Math.round(values[1]);
});
</script>
The start sets the two handle positions. The connect option fills the space between them. The range sets the full scale. Change the numbers to fit your needs.
Step 4: Style the Dual Slider
noUiSlider ships with a base style you can override. Target its classes in your CSS to recolor the track, fill, and handles. For example, set the fill color on the .noUi-connect class and the handle size on the .noUi-handle class.
How to Connect a Range Slider to a Form
You often want to submit the slider value with a form. Here is the simple way.
- Place the slider inside your Webflow form.
- Add a hidden input field to the form.
- Use a small script to copy the slider value into the hidden field.
- The form now submits the chosen value with the other fields.
This lets you collect a budget, a team size, or any number from the slider.
How to Make a Price Range Filter
A price range slider is the top use for this control. The cleanest path is Method 2 with Finsweet. You add the Range Slider, then connect it to the Finsweet CMS Filter. Users drag the handles, and the list updates to match the price range. For a store or a listing site, this gives shoppers fast, visual control over their budget.
Accessibility Tips for Range Sliders
Make your slider work for everyone. Follow these points.
- The native HTML range input is accessible by default. Users can move it with arrow keys.
- Add a clear label near the slider so people know what it controls.
- Show the current value in text, not just the handle position.
- For noUiSlider, add aria labels so screen readers can announce the values.
- Keep the handle large enough to grab on a touch screen.
Troubleshooting
A few issues come up often. Here are quick fixes.
- The slider looks plain. Add the CSS from Method 1 to style the track and handle.
- The value does not update. Check that the script ids match the input ids.
- noUiSlider does not load. Confirm the CDN links sit in the head and load before your script.
- It works in Preview but not live. Publish the site, since custom code only runs on the published page.
- The handle is hard to tap on mobile. Increase the handle size in your CSS.
Best Practices for Range Sliders
Use these tips to keep your slider clean and clear.
- Always show the current value in text.
- Use a step value that fits the scale, like 1 for prices or 5 for large ranges.
- Match the track and handle colors to your brand.
- Keep the scale simple, with a clear minimum and maximum.
- Save the code snippet so you can reuse it on other pages.
- Test the slider on a real phone, not just the Designer.
Conclusion
You now have three ways to add a range slider in Webflow. Use the HTML range input for a quick single value. Use Finsweet Attributes for a no-code price filter. Use noUiSlider for a dual-handle range with a minimum and maximum. Each one uses an Embed, so no method needs a plugin.
Start with the method that fits your goal. Style the track and handle to match your brand. Then publish and test the slider on the live site and on a phone.
Want a custom Webflow build with filters and sliders that just work? theCSS Agency builds fast, custom Webflow sites for SaaS and B2B teams. Book a call to talk about your project.
FAQs
1. Does Webflow have a range slider?
No. Webflow has no native range slider input. You add one with an HTML range input in an Embed, with Finsweet Attributes, or with the noUiSlider library.
2. What is the difference between a range slider and the Webflow Slider?
A range slider is an input for picking a number. The Webflow Slider component is a carousel that shows slides of content. They are two different things.
3. How do I add a price range slider in Webflow?
Use Finsweet Attributes for a no-code option, or noUiSlider for a custom build. Connect the slider to a CMS filter so the list updates by price.
4. How do I style a range slider in Webflow?
Add CSS to target the track and the handle. For the HTML input, style the base class and the thumb selectors. For noUiSlider, target its built-in classes.
5. Can I add a dual-handle range slider in Webflow?
Yes. Use the noUiSlider library. It creates a slider with two handles for a minimum and a maximum value.
6. Do I need a plugin to add a range slider in Webflow?
No. You add a range slider with an Embed element and custom code. Finsweet Attributes and noUiSlider are free helper tools, not paid plugins.
7. Is the HTML range input accessible?
Yes. The native HTML range input works with a keyboard and screen readers by default. Add a clear label and show the value in text for the best result.

.jpg)