


How to Create Tabs in Webflow: Native, Custom & CMS-Driven (2026)
Build tabs in Webflow three ways: the native Tabs element, custom-styled tab buttons, and dynamic tabs powered by a CMS Collection List. Step by step with fixes.
Actionable insights to improve SEO, speed, and conversions
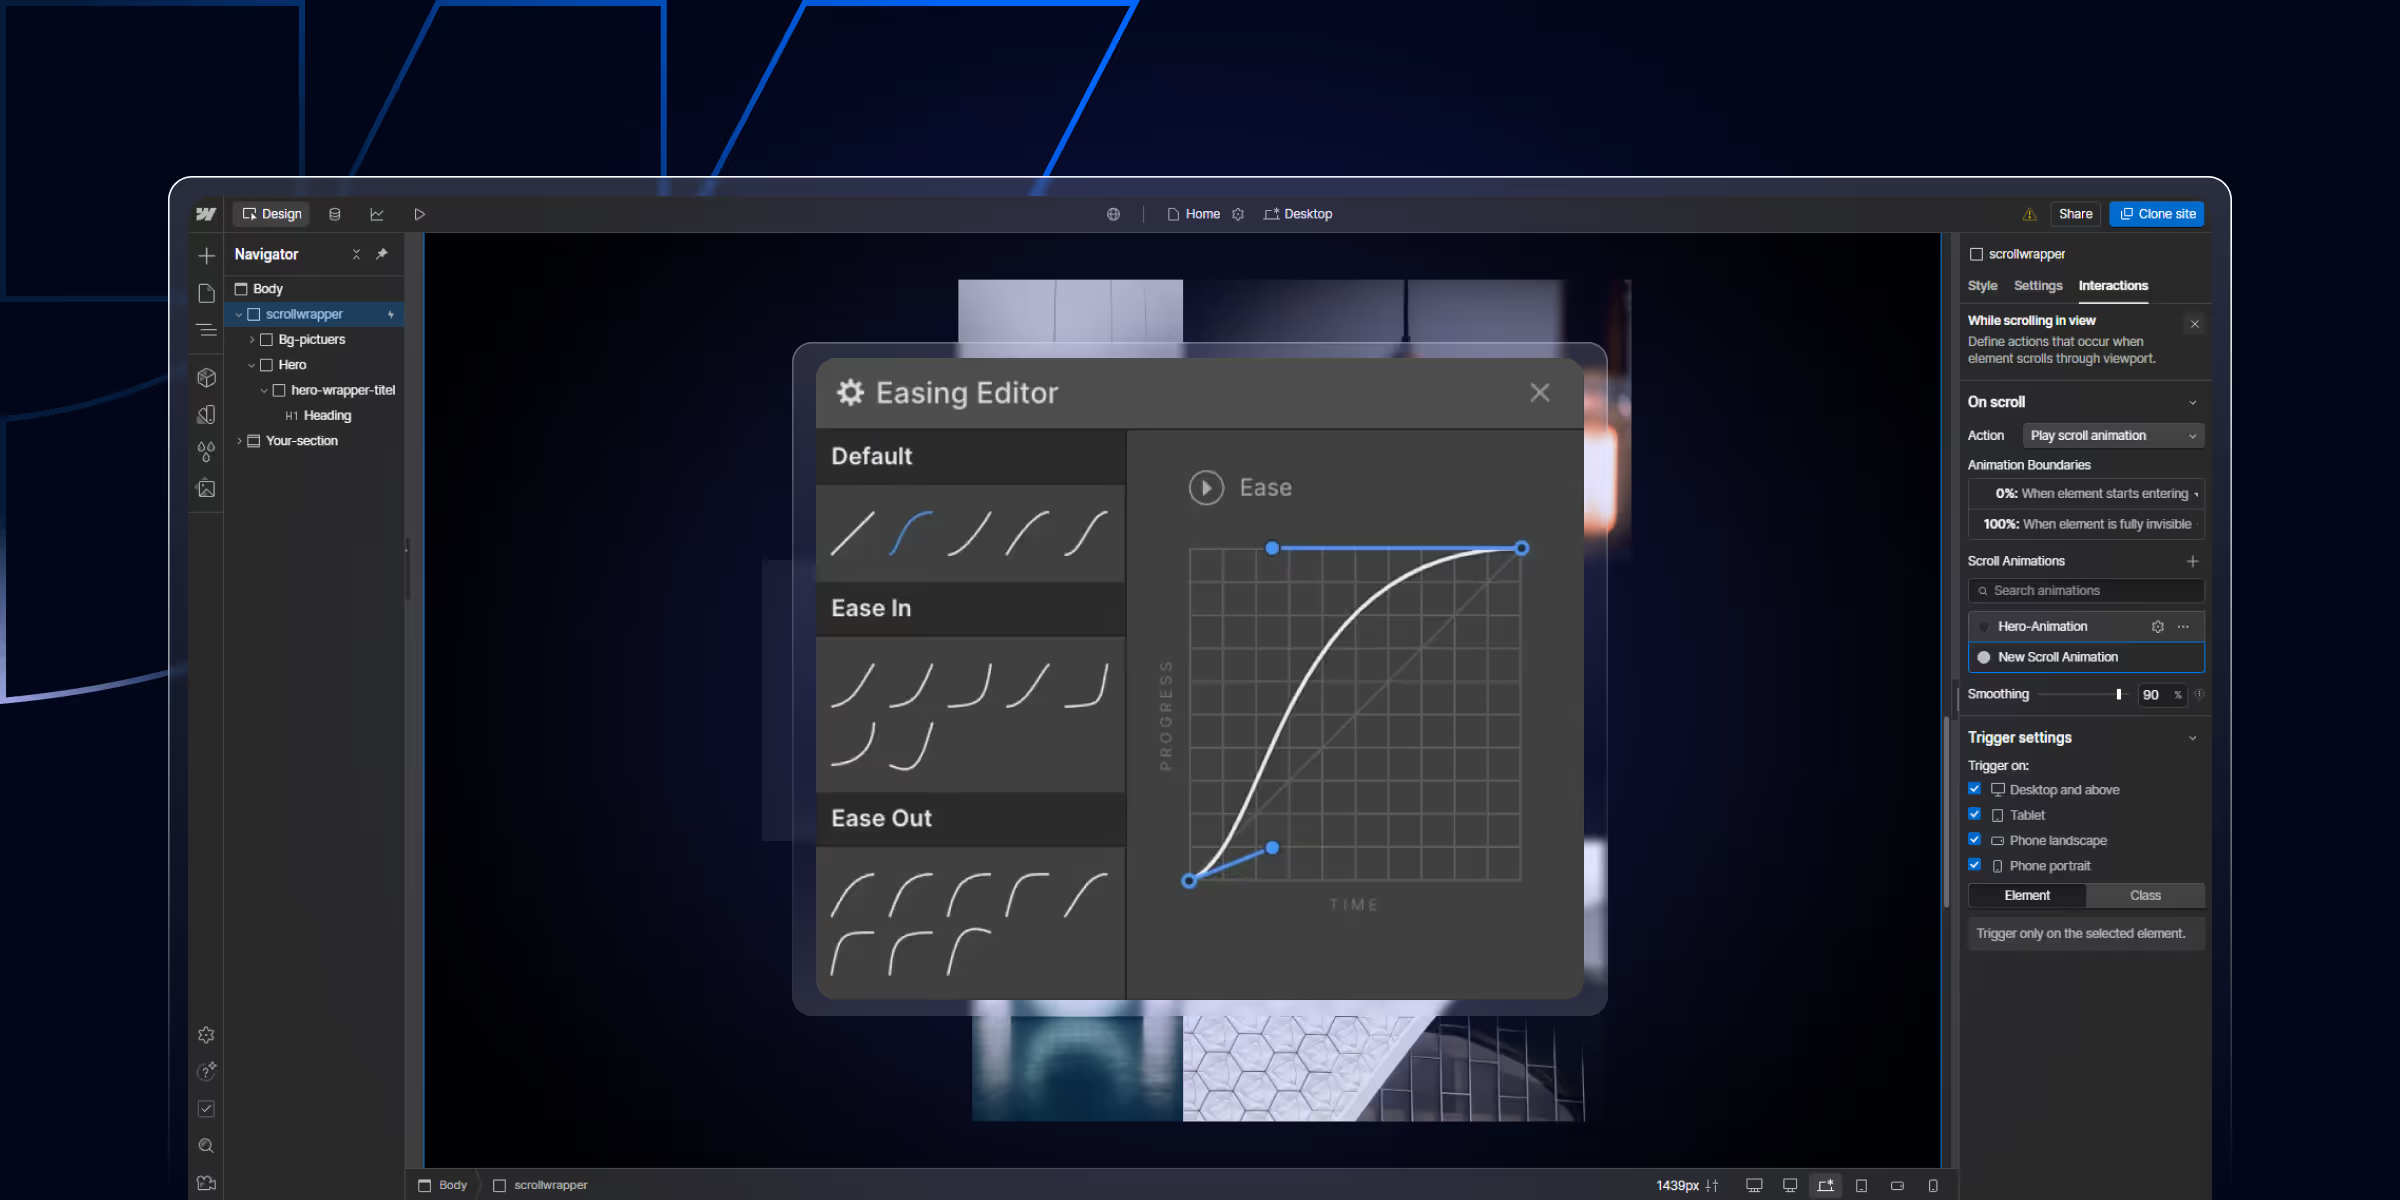
Webflow Interactions are animations triggered by user behavior scroll, hover, click, mouse movement, or page load. They're built in the Interactions panel (lightning bolt icon in the right sidebar), with no code required for most effects.
There are two categories: Element Triggers (fire based on what happens to a specific element scroll into view, hover, click) and Page Triggers (fire based on page-level events page load, page scroll position).
For effects beyond what the Interactions panel supports complex timelines, physics, SVG path morphing pair Webflow with GSAP via a script tag in Project Settings.
Webflow is a no-code visual web design tool. That allows designers, developers, and marketers to build modern websites without writing code.
Webflow's best feature is creating interactions and animations easily. These elements make your website react to user actions like scrolling, clicking, or hovering.
Whether you're building a work portfolio or a SaaS landing page, mastering Webflow interactions and animation features can boost your site's user experience.
Here I cover the different interactions and animations in Webflow, their differences, the types you can use, and a step-by-step guide to building them.
Interaction design focuses on creating engaging interfaces with user-friendly behaviors. It defines how users interact with digital products and how those products respond.
In Webflow, interactions are actions triggered by users that create visual changes on a webpage. They respond to behaviors like
These interactions trigger animations or style changes. For instance, when a user hovers over a button, it might grow or change color.
With Webflow, you can set these triggers and define what happens when activated.
Webflow animations are visual movements and effects you add to a website to make it feel more interactive without writing code
Unlike interactions that rely on user input, animations define how elements behave visually when triggered.
For example, a Webflow fade-in-on-scroll effect can reveal content as users move down the page. When a user clicks a menu icon, an animation could slide the navigation panel from the side.
Webflow interactions and animations serve different but related roles in design.
Interactions are user-driven events. They define when something should happen on your site, like clicking a button or using Webflow scroll into view. These triggers start a change or sequence of changes.
Animations define how the element changes visually. They are the effects that follow an interaction, such as expanding, fading in, sliding, or rotating.
With Webflow animations, you add smooth transitions that improve user experience. You can also create custom effects that trigger when the page loads.
In short, interactions are triggers. Animations are the effects that result.
Webflow organizes interactions into two categories based on what starts the animation.
Element Triggers fire based on what happens to a specific element on the page:
Page Triggers fire based on events that happen at the page level, not tied to a specific element:
These are the interaction patterns used on most production Webflow sites:
Select the element → add a "Scroll Into View" trigger → set initial state to Opacity 0%, Move Y 20px → add a keyframe at 100% with Opacity 100%, Move Y 0px → set duration to 600ms with ease-out easing. Works on sections, cards, images, and headings. For multiple elements in a row, use the "Affect: Children with class" option and enable stagger (80–120ms delay between children).
Select the button → add a "Mouse Hover" trigger → on hover-in: scale to 1.03, background color change, duration 200ms → on hover-out: return to original state, same duration. Keep hover animations under 300ms — anything longer feels sluggish.
Select the toggle element → add a "Mouse Click" trigger → on first click: expand the content div (height 0% to auto, opacity 0% to 100%) → on second click: reverse. Use "Limit to nested elements" to scope the interaction to just that accordion item when you have multiple.
Add a "Page Load" trigger → create a timeline that sequences: logo fades in (0ms), headline slides up (200ms delay), subheading slides up (400ms delay), CTA button scales in (600ms delay). Keep total entrance duration under 1.2 seconds users should see complete content quickly.
Add a "Page Scroll" trigger on the navbar element → at 0% scroll position: full height, transparent background → at 5% scroll position: reduced height, solid background color, box shadow. This gives the illusion of the navbar "shrinking" as the user scrolls down.
Webflow's built-in Interactions panel handles 90% of what most sites need. GSAP (GreenSock Animation Platform) fills the remaining 10% effects that require precise multi-step timelines, physics-based motion, SVG path morphing, or text-splitting animations.
Go to Project Settings → Custom Code → Footer Code. Paste the GSAP CDN script tag:
<script src="https://cdnjs.cloudflare.com/ajax/libs/gsap/3.12.5/gsap.min.js"></script>Add plugin scripts below the core GSAP script (e.g., ScrollTrigger, SplitText). Then add your animation code in a Before </body> embed on the specific page where it's needed — don't load GSAP sitewide if only one page uses it.
Webflow's "While Scrolling in View" is the no-code equivalent of GSAP ScrollTrigger for simple effects. Use GSAP ScrollTrigger when you need: pin an element while the page scrolls (GSAP's pin: true), scrub multiple elements at different speeds simultaneously, or trigger animations based on absolute scroll positions rather than element visibility. For a basic parallax or scroll-reveal, Webflow's native interaction is sufficient and adds no script overhead.
Well-designed interactions keep users engaged with immediate visual feedback. This creates a more natural and satisfying browsing experience.
Subtle animations can guide users' eyes and highlight important content. They help tell a story and direct attention through your website.
Before Webflow, complex animations required JavaScript or third-party Webflow libraries. Now, you can do it all visually. This reduces development time and complexity.
Webflow's native animation engine is built for performance. Smart use of animations can improve metrics like time on site without hurting core web vitals like LCP and CLS.
Read More: Improve Website performance
These interactions trigger animations as the page loads or as users scroll down. A common example is CSS scroll-based animation, where elements fade in or slide up as they appear.
Examples include:
These interactions respond to cursor movements, making your UI feel interactive:
Trigger animations or actions when users click or tap:
These triggers activate as users scroll past specific elements. They're perfect for creating CSS scroll-based animation effects that respond to scroll position.
Click on the lightning bolt icon (Interactions) in the Webflow Designer sidebar.
Choose the element you want to animate. Click "Element Trigger" and select from options like
After selecting a trigger, add animations using the timeline editor. You can:
Test your interaction by clicking the Preview button. Adjust timing, easing, and delays for a smooth feel.
Easing controls how your animations speed up or slow down. Webflow supports:
You can set animations to loop forever or play once with delay timers. This works great for rotating icons or pulsing buttons.
Target specific classes or elements to apply the same animations across multiple components.
Use presets for common animations like fade in or slide up. Or use the timeline editor for full custom control over timing and sequencing.
The five most common reasons Webflow interactions fail to fire:
If you're belong to designer , developer or a startup founder looking to build your own Website site. So Webflow interactions and animation features can improve user experience, storytelling, and overall performance.
You can try hover effects, scroll animations, and click triggers. Webflow gives you the full-power to turn static designs into engaging digital experiences.
theCSS Agency builds Webflow sites with purposeful interactions scroll-triggered sequences, hover micro-animations, GSAP integrations, and Lottie animations, all optimized for Core Web Vitals. Webflow Premium Partner. Clutch 5.0 (25+ reviews). 150+ websites built.
Book a call to discuss your project.
Webflow interactions are user-driven triggers like scroll or click. Animations are visual effects that occur as a result of those triggers.
No! Webflow provides a visual interface for building both animations and interactions. No coding required.
Yes. You can set different interactions for desktop, tablet, and mobile devices to ensure responsiveness.
Use the "Scroll into View" trigger from the Interactions panel. Then define the animation you want to play as the user scrolls, such as Webflow fade-in on scroll.
Select an element, go to Interactions, choose a trigger like scroll or click, and define the animation steps using Webflow's timeline and effects. No coding required!


Sanket Vaghani has 8+ years of experience building designs and websites. He is passionate about building user centric designs and Webflow. He build amazing Webflow websites and designs for brands.

Build tabs in Webflow three ways: the native Tabs element, custom-styled tab buttons, and dynamic tabs powered by a CMS Collection List. Step by step with fixes.
Set up an RSS feed for your Webflow CMS, enable the native feed, find its URL, add full post content, and build a custom feed for any collection. Step by step.
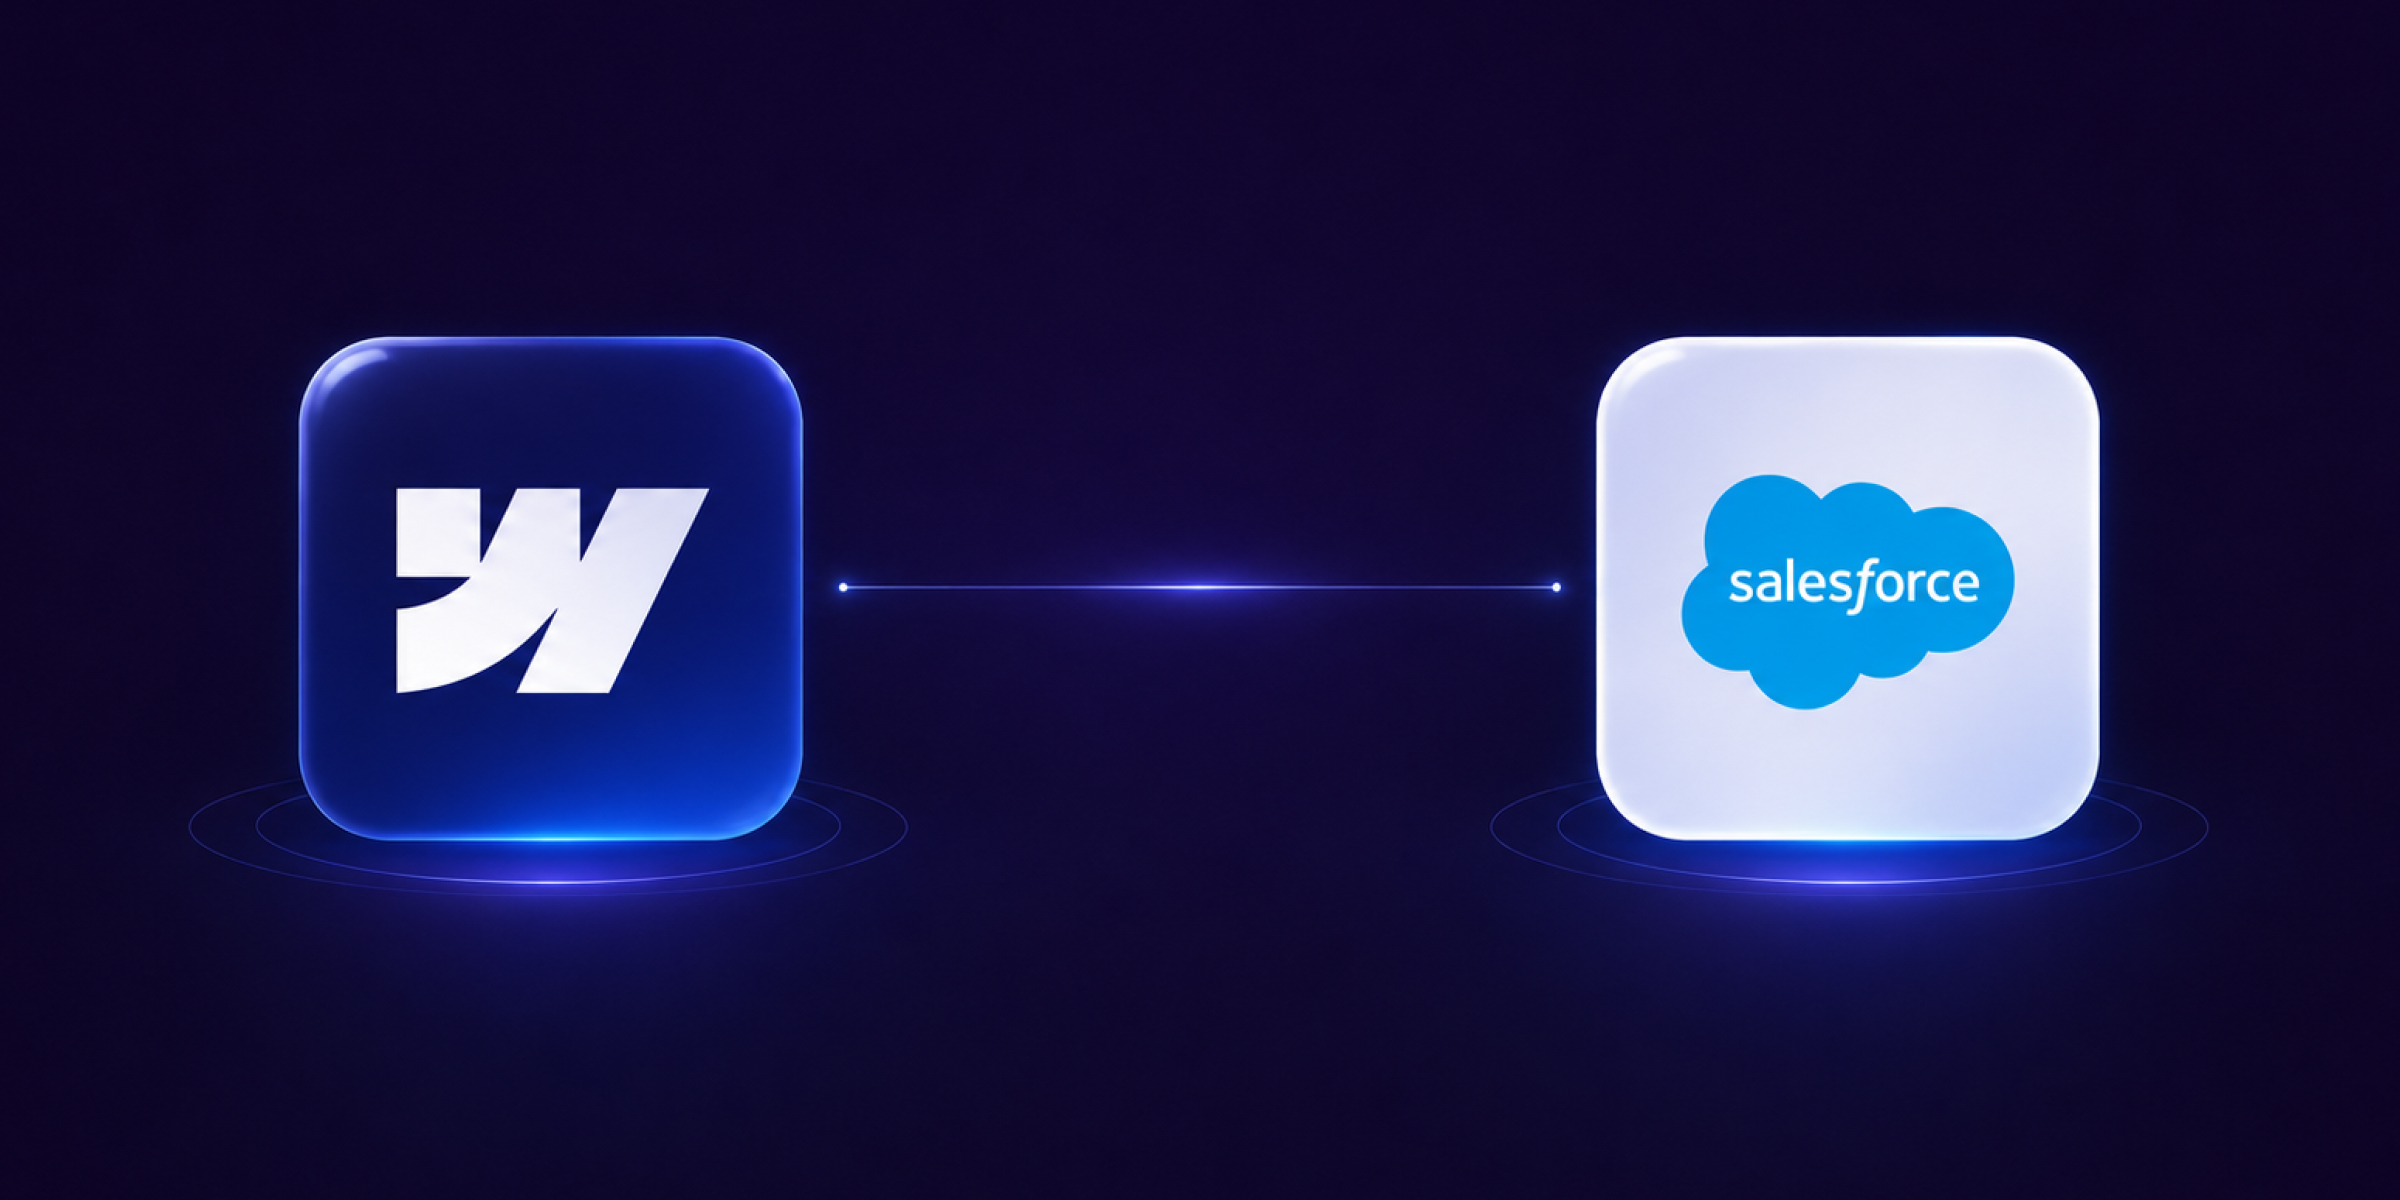
Send Webflow form leads straight into Salesforce with Zapier, Make, Web-to-Lead, or the API. Step-by-step field mapping so no lead slips through.
Quick Turnaround. No Contracts. Cancel Anytime. Book a 30 minutes consulting call with our expert.