


B2B SaaS SEO: Complete Strategy Guide for High-Intent Leads (2026)
Learn how to build a high-impact B2B SaaS SEO strategy that attracts qualified leads, boosts rankings, and drives consistent revenue. Step-by-step framework with real growth tactics
Actionable insights to improve SEO, speed, and conversions
Popups can boost user engagement and lead generation when used right. This guide shows you how to create a Webflow popup to show announcements, promotions, or capture leads. Whether you're new to Webflow or an expert, you'll learn the full process here.
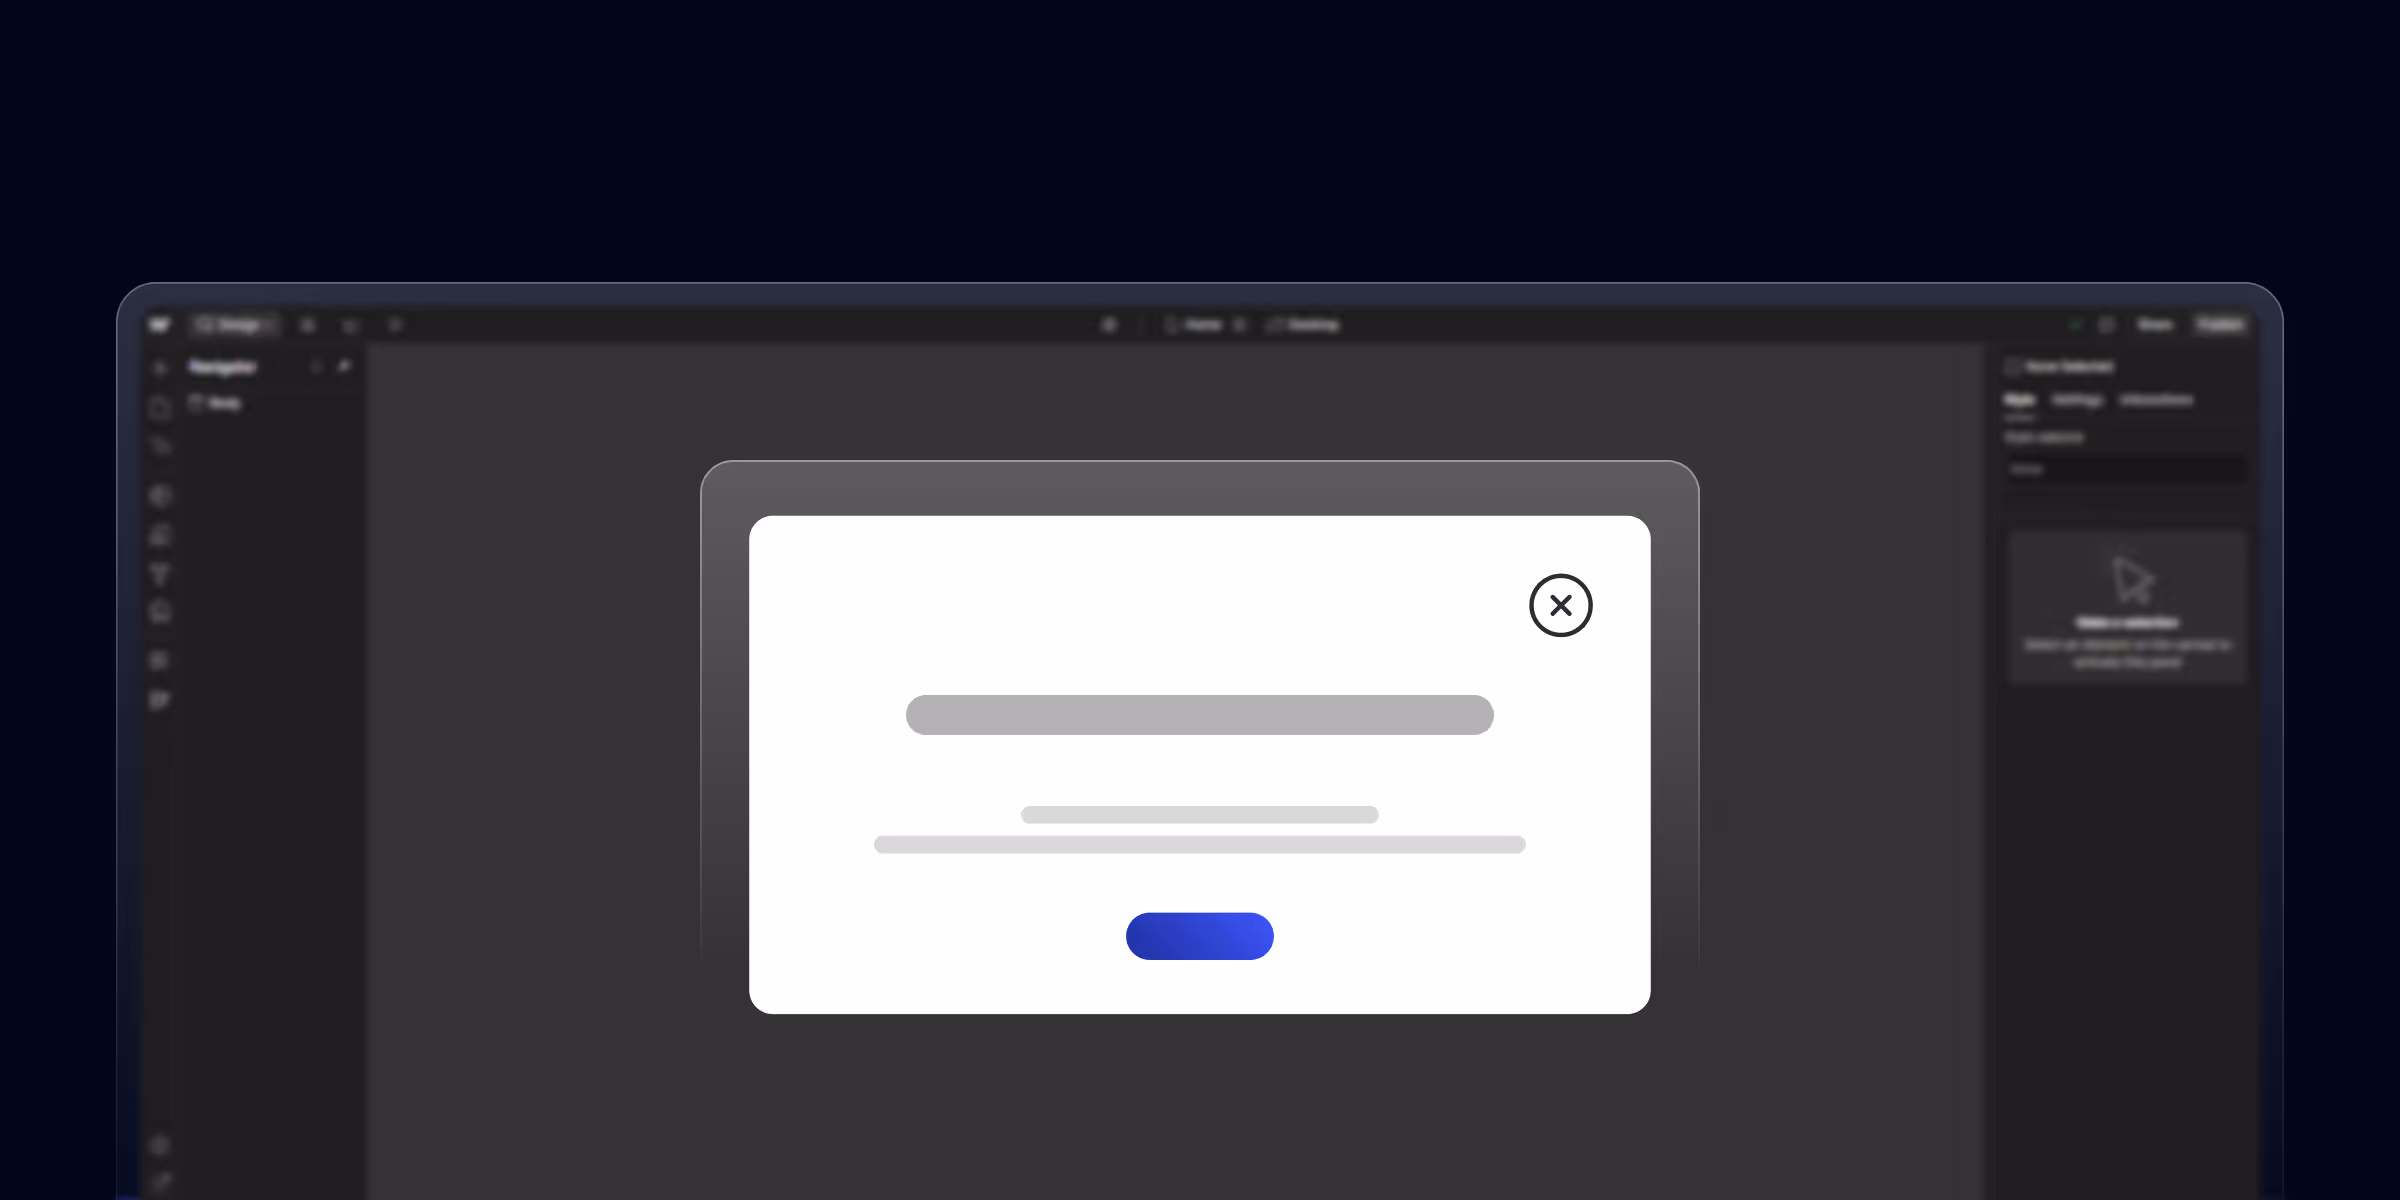
A Webflow popup is an element that appears on top of your page. It grabs attention for key info, special offers, or actions. You can trigger it through user clicks or set it to appear based on conditions.
A Webflow modal popup offers real benefits when built correctly:
Make sure you have these ready:
Pick the trigger that fits your needs:
Start by adding a div block to your page. Call it "Popup Wrapper." Set its position to Fixed and make it cover the full screen. Give it a dark background (like black with 50% opacity).
Add another div inside the wrapper. Call it "Popup Container." This holds your actual content. Set it to a relative position and center it on the screen. Add padding, borders, and a white background.
Place your content inside the container. This could be:
Add a close button in the top corner. Style it so users can see it clearly. This gives them control to dismiss the popup.
Use the Interactions panel to make your popup work:
For a Webflow exit intent popup, you'll need custom JavaScript that detects mouse movement toward the browser bar.
Preview your site and test the popup on all devices. Check that it:
If you want to save time, use a Webflow popup template. Many free and paid templates are available online. It comes pre-built with:
Just copy the template into your project and adjust the colors, text, and styling to match your brand.
Want to take your Webflow modal popup further? Try these:
Make sure your close button interaction is set to hide the popup wrapper (not just the container).
Check the z-index. Your popup wrapper needs a high value (like 9999) to appear on top.
Test your popup on mobile breakpoints. Adjust padding and font sizes for smaller screens.
Connect your form to Webflow's form settings or your email service provider.
Popups work great when built with care. At theCSS Agency, we build Webflow sites that look good and bring in more leads for SaaS, IT, and B2B companies. We can help you create popups that match your brand and convert visitors. Contact us today to improve your site's performance with custom Webflow solutions.
A webflow popup is a floating box or modal that appears on top of a page. It shows messages, captures leads, promotes offers, or guides users. You design and control it using Webflow's Designer and Interactions panel.
Yes. You can build working popups in Webflow using only the Designer and Interactions features. For advanced options (like exit intent or time delays), you may need custom code or third-party tools.
You can trigger popups with these actions:
Yes. All Webflow elements work across devices using breakpoints. Test your popup on mobile and adjust padding, text size, and layout as needed.
You can make many kinds:


Sanket Vaghani has 8+ years of experience building designs and websites. He is passionate about building user centric designs and Webflow. He build amazing Webflow websites and designs for brands.

Learn how to build a high-impact B2B SaaS SEO strategy that attracts qualified leads, boosts rankings, and drives consistent revenue. Step-by-step framework with real growth tactics
A Webflow Premium Partner is an agency at the top tier of Webflow's official partner program.

Programmatic SEO on Webflow means generating many landing pages from one CMS Collection template one page per.
Quick Turnaround. No Contracts. Cancel Anytime. Book a 30 minutes consulting call with our expert.