


Webflow Interactions and Animations: Complete Guide (2026)
How Webflow Interactions work: trigger types (scroll, hover, click, page load), step-by-step setup, common use cases, GSAP integration, and troubleshooting when interactions don't fire.

Actionable insights to improve SEO, speed, and conversions
To switch DNS to Webflow: in Site Settings → Publishing, add your custom domain. Webflow shows the required A records (75.2.70.75 and 99.83.190.102) and CNAME record (proxy-ssl.webflow.com). Add these at your domain registrar (GoDaddy, Namecheap, Cloudflare, etc.), wait 24–48 hours for propagation, then click Publish in Webflow. SSL is enabled automatically.
Connect custom domain Webflow takes less than 15 minutes of actual work, but DNS propagation can require up to 48 hours for global visibility. This final step transforms your webflow.io staging site into a professional, branded web presence that builds trust, improves SEO, and creates memorable user experiences.
Going live with a Webflow site means pointing your custom domain's DNS records to Webflow's hosting servers. The process takes 10 minutes of configuration plus 24–48 hours of DNS propagation. This guide covers exactly which DNS records to add (A records, CNAME, root vs www), how to handle the redirect between root and www, what to do if SSL fails to provision, and the post-launch checklist to verify your site is live correctly.
It enables custom domain connection. Free plans restrict publishing to webflow.io subdomains only. Basic plans ($14/month) support custom domains, while CMS, Business, and Enterprise plans offer additional features for content-rich or high-traffic sites.
Requires purchasing a domain from registrars like GoDaddy, Namecheap, Cloudflare, Google Domains (now Squarespace), or similar providers. Ensure you have registrar account access to modify DNS settings.
You should finish before initiating domain connection. Content, functionality, and design should be final or near-final to avoid publishing incomplete work to your custom domain.
It protects against launch issues. Create a backup restore point in Webflow before making final changes. Document current settings for quick rollback if needed.
It processes across all breakpoints, ensuring a consistent experience. Test desktop, tablet, and mobile views thoroughly, checking that all content displays properly and interactions work across device sizes.
It validates functionality in Chrome, Firefox, Safari, and Edge. Different browsers render CSS and JavaScript differently, so comprehensive testing prevents browser-specific issues.
It confirms all forms deliver emails correctly, display appropriate success messages, and handle validation errors gracefully. Test with real email addresses to verify delivery.
It prevents broken internal and external links. Verify navigation menus, footer links, CTA buttons, and content links all point to correct destinations.
Image compression, script minification, and asset optimization, ensures fast loading speeds. Run Google PageSpeed Insights tests and address any major performance issues before launch.
It translates human-readable domain names like yoursite.com into IP addresses that computers use to locate servers. When someone visits your domain, DNS records tell their browser where to find your website.
For the root domain (e.g., yourdomain.com without the www), Webflow requires two A records pointing to its load balancers:
75.2.70.7599.83.190.102Add both records at your domain registrar. The "Host" or "Name" field should be <code>@</code> (which represents the root domain at most registrars). The "Value" is each IP address one row per IP.
For the www subdomain, use a CNAME record (covered in the next section) instead of an A record.
Your website (www.yoursite.com) to other domain names. Webflow requires a CNAME record pointing www to proxy-ssl.webflow.com, which handles SSL certificates and routing.
This distinction affects configuration. The root domain (yoursite.com) uses A records, while the www subdomain uses CNAME. Most businesses set www as the default, redirecting the root to www automatically.
It describes the time required for DNS changes to spread globally across internet service providers and DNS servers. Propagation typically completes within 4-24 hours but can take up to 48 hours.
Navigating to Site Settings begins in Webflow Designer:
1. Open your project in Webflow Designer
2. Click the Settings icon in the left sidebar
3. Navigate to the "Publishing" tab
4. Click on "Production" section
5. Locate "Add custom domain" button.
Distinguish between staging (webflow.io) and production (custom domain) environments. Production settings control your live, public-facing website.
The custom domain button initiates the domain connection process. This button appears only on projects with paid site plans. Free plans cannot add custom domains.
Accept both root domains (yoursite.com) and www subdomains (www.yoursite.com). Webflow recommends entering just the root domain, which automatically adds both versions.
The Quick Connect option (Entri integration) automates DNS configuration for supported registrars. Webflow partners with Entri to modify DNS records automatically after you authorize the connection.
Benefits of Quick Connect include:
Supported registrars for Quick Connect include major providers like GoDaddy, Namecheap, Google Domains (Squarespace), Domain.com, and others. Webflow displays supported registrars during the Quick Connect flow.
When to choose manual setup:
Finding DNS management section varies by registrar but typically lives in account settings under "DNS," "DNS Management," "Nameservers," or "Domain Settings".
Common registrar interfaces include:
Preparing for DNS changes includes:
Backing up existing records
It protects against accidental deletion of critical records like email configuration. Export or screenshot all existing records before making changes.
Creating first A Record (75.2.70.75):
Creating a second A Record (99.83.190.102):
Host/Name field configuration varies by registrar:
TL settings and recommendations control how long DNS servers cache your records. Lower TTL (600-3600 seconds) enables faster updates, while higher TTL reduces DNS query load. Use 3600 (1 hour) for launches, then increase to 86400 (24 hours) after stable operation.
The CNAME record handles the www. version of your domain (and any other subdomain you point to Webflow). The value is always:
Pointing to proxy-ssl.webflow.com enables Webflow's SSL certificate management and secure hosting infrastructure. This exact value is required—variations like "proxy.webflow.com" or "webflow.com" will not work.
Host/Name field configuration for CNAME records uses "www" specifically, not "@" or blank. This creates the www subdomain (www.yoursite.com).
If you're using Cloudflare, make sure the CNAME's proxy status is set to DNS only (gray cloud icon), not Proxied (orange cloud). Webflow handles SSL itself — Cloudflare's proxy in front breaks the SSL provisioning.
Common CNAME errors to avoid:
Identifying conflicting A and CNAME records that point to previous hosting services prevents DNS conflicts. Look for A records pointing to old IP addresses or CNAME records pointing to previous hosts.
Safely deleting old hosting records requires:
Preserving email DNS records prevents email disruption. MX Records, TXT Records for email authentication (SPF, DKIM), and email-related CNAME Records should remain unchanged unless you're also migrating email services.
Testing before deletion By creating new records first, then removing old ones after verification, continuous service is ensured. If uncertain about a record's purpose, research or contact your registrar before deletion.
Returning to Webflow settings after configuring DNS records:
1. Navigate back to Webflow Site Settings
2. Go to Publishing > Production
3. Find your added custom domain
4. Locate "Check Status" button next to the domain.
Check Status button functionality triggers Webflow to query DNS servers and verify proper record configuration. Webflow checks that both A Records and CNAME Record point correctly to Webflow infrastructure.
Understanding verification status messages:
Verification timeline expectations vary based on DNS propagation speed. Most domains verify within 4-8 hours, though 24-48 hours represents the maximum typical timeframe. TTL settings affect verification speed.
"www vs root domain" preference affects which domain displays in browser address bars. Most businesses prefer www.yoursite.com as default, with yoursite.com redirecting automatically.
Making a domain default:
SEO implications of default domain require consistency. Choose one version (www or root) as default and maintain that choice to avoid duplicate content issues and consolidate SEO authority.
Redirect behavior automatically sends traffic from the non-default domain to the default domain using 301 redirects, preserving SEO value and ensuring consistent brand presentation.
Let's Encrypt certificate provisioning happens automatically after domain verification. Webflow requests and installs free SSL certificates from Let's Encrypt, a trusted certificate authority.
SSL certificate generation timeline typically completes within minutes of domain verification but can take up to an hour. Webflow displays SSL status in domain settings.
Certificate renewal automation occurs automatically before expiration. Let's Encrypt certificates expire after 90 days, but Webflow renews them automatically 30 days before expiration, ensuring continuous SSL coverage.
Multi-domain certificate coverage includes both the root domain and the www subdomain in a single certificate. Webflow's SSL certificate covers all connected custom domains and subdomains.
Accessing SSL settings in Webflow:
Force HTTPS toggle redirects all HTTP traffic to HTTPS automatically, ensuring all visitors access your site securely. This setting should be enabled for all production sites.
HTTP to HTTPS redirection uses Webflow 301 permanent redirects that preserve SEO value while upgrading connection security. Search engines recognize and reward HTTPS usage with minor ranking boosts.
Testing secure connections involves:
The publish button location sits prominently in the top-right corner of Webflow Designer. This bright blue button initiates the publishing workflow.
Selecting domains for publishing:
Staging vs production domains serve different purposes. Staging domains (yoursite.webflow.io) enable testing before public launch, while production domains (yoursite.com) serve live traffic.
Publish confirmation appears after successful publishing, displaying which domains received updates and confirming live status.
Testing custom domain access:
Checking all pages load correctly requires systematic testing:
Verifying SSL certificate ensures secure connections:
Testing across devices validates responsive design:
Navigating GoDaddy DNS Management:
Adding records in GoDaddy interface:
GoDaddy-specific quirks:
Verification typically takes 2-6 hours with GoDaddy's fast DNS servers, though the official timeframe remains 24-48 hours.
Accessing Advanced DNS settings:
Record configuration in Namecheap:
Namecheap defaults to change:
Common Namecheap issues:
Cloudflare DNS management interface:
Proxy vs DNS-only settings:
SSL/TLS mode configuration:
Cloudflare optimization settings:
Note (September 2023): Google transferred Google Domains to Squarespace in September 2023. If you purchased your domain through Google Domains, it has been migrated to Squarespace Domains. Log in at domains.squarespace.com using your Google account credentials to access your domain's DNS settings. The DNS management interface looks different from the original Google Domains but the A record and CNAME configuration process is the same. New domain purchases previously available at domains.google.com now redirect to Squarespace Domains.
Google Domains specific format:
Transfer to Squarespace note: Google Domains was sold to Squarespace in 2023. Existing Google Domains users can still manage DNS, but new registrations go through Squarespace with a similar interface.
Alternative registrars if leaving Google Domains:
DNS propagation describes how DNS record changes spread across the global network of DNS servers maintained by ISPs and DNS providers.
Typical propagation timeframes:
Factors affecting propagation speed:
Global vs local propagation means some geographic regions see changes before others. Your local network might show updates while users in other countries still see old records.
DNS changes don't apply instantly. After updating your A and CNAME records, the new values propagate across global DNS servers over 24–48 hours. During this window, your site may be reachable from some networks but not others.
To check propagation status:
dnschecker.orgIf 90%+ of global checks return the Webflow values, you're propagated. Click <strong>Publish to selected domains</strong> in Webflow and verify the site loads on the custom domain.
If SSL shows as "Pending" or "Failed" in Webflow's domain panel after 48 hours, the most common cause is a stuck CAA record at the registrar. Delete any existing CAA records, wait an hour, and Webflow will retry SSL provisioning automatically.
Go-live SEO checklist
yourdomain.com/sitemap.xml -> Webflow auto-generates this on publishyourdomain.com/robots.txt is not blocking Googlebotyourdomain.com/llms.txt is accessible (auto-generated by Webflow on paid plans)Meta titles and descriptions:
Open Graph and Twitter cards:
Sitemap generation:
Google Analytics integration:
Google Search Console setup:
Switching DNS and going live with your Webflow site requires systematic execution across domain connection, DNS configuration, SSL setup, and comprehensive testing. The process combines technical precision with thorough quality assurance to ensure professional launches.
DNS propagation patience remains essential as global DNS updates require time despite proper configuration. Testing from multiple locations and networks validates successful propagation before announcing your launch.
Ready to launch your Webflow site with confidence and professional execution that ensures flawless performance from day one? theCSS Agency specializes in comprehensive Webflow launches, including DNS configuration, pre-launch testing, go-live management, and post-launch support. Our proven methodology guarantees smooth launches without technical surprises.
Schedule your launch consultation today and discover how professional launch management eliminates stress, prevents downtime, and delivers the polished launch your website deserves.
DNS propagation for Webflow typically takes 15 minutes to 4 hours in most regions. Full global propagation can take up to 48 hours, though this is rare with modern TTL settings. Your local ISP's DNS cache is usually updated faster than your ISP's upstream resolvers — this means your site may appear live when you check it but not yet live for all users. Check propagation status at dnschecker.org using your domain name — look for green checkmarks across multiple locations. Cloudflare-managed DNS typically propagates in under 5 minutes.
Yes, for safety. Keep your old hosting active until you've confirmed Webflow is serving traffic from 90%+ of global DNS checks. This prevents downtime during propagation. Once Webflow is fully live, you can cancel old hosting.
Webflow shows "Pending" in Site Settings → Domains when it cannot yet verify your DNS records are pointing correctly. Common causes: (1) DNS records haven't propagated yet — wait 30 minutes and check again. (2) The A record or CNAME was added incorrectly verify in your registrar that the A record Host value is "@" or blank (meaning the root domain, not "www.yourdomain.com" which creates a subdomain instead). (3) Old conflicting DNS records exist — if your domain previously pointed to another host, old A records may conflict. Delete any old A records pointing to non-Webflow IPs before adding new ones. (4) Cloudflare proxy is on if using Cloudflare, set DNS records to "DNS only" (grey cloud) instead of "Proxied" (orange cloud) during initial setup; you can re-enable the proxy after Webflow SSL provisions.


Sanket Vaghani has 8+ years of experience building designs and websites. He is passionate about building user centric designs and Webflow. He build amazing Webflow websites and designs for brands.
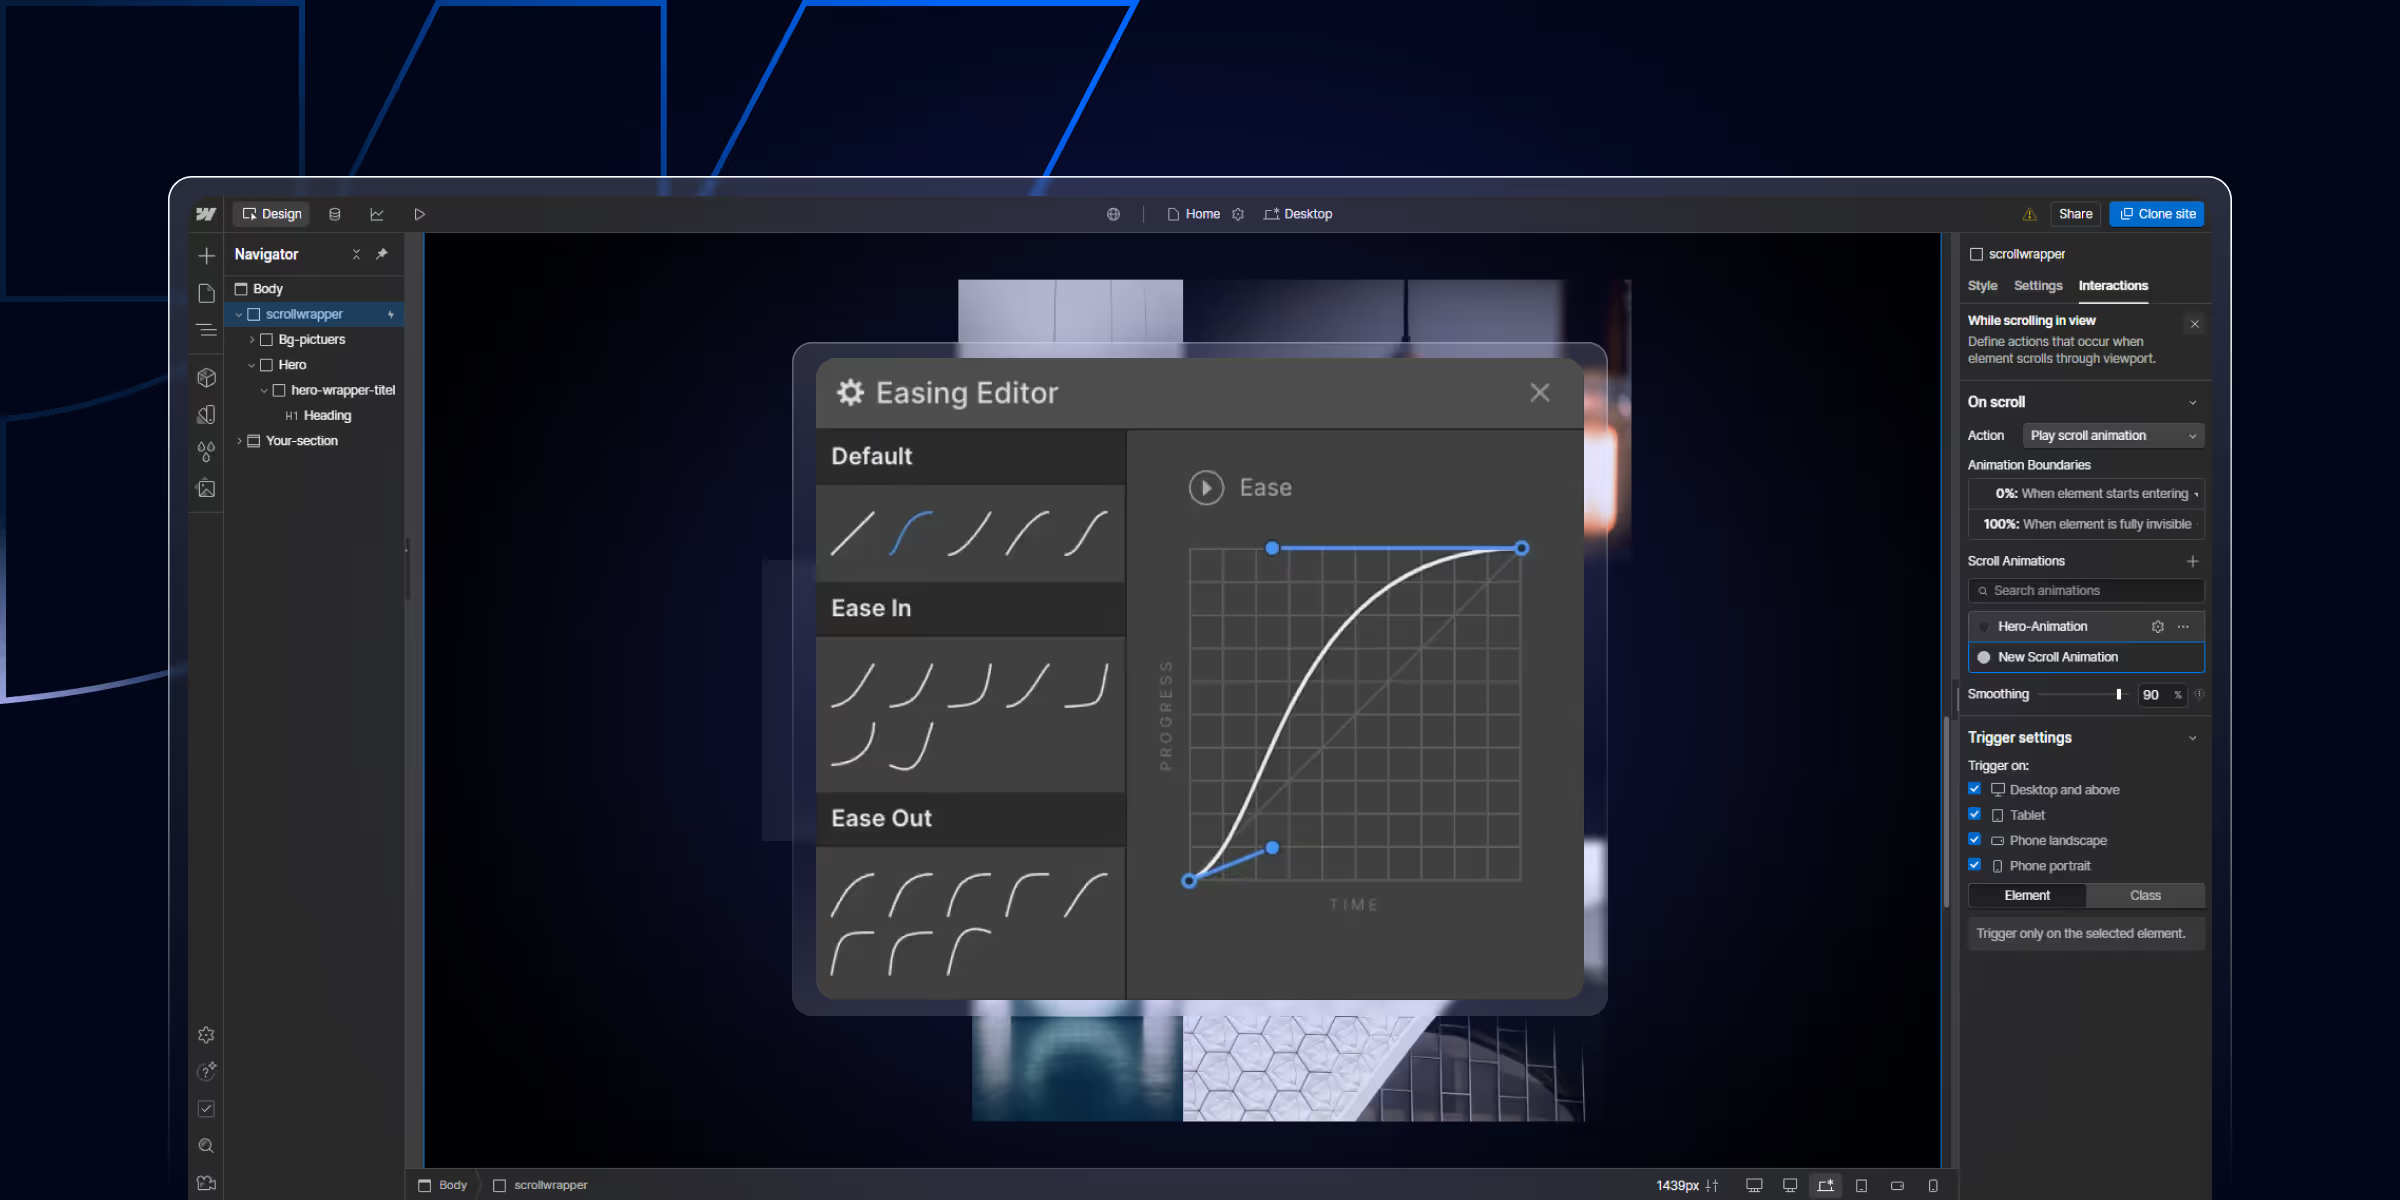
How Webflow Interactions work: trigger types (scroll, hover, click, page load), step-by-step setup, common use cases, GSAP integration, and troubleshooting when interactions don't fire.

Learn how to build a high-impact B2B SaaS SEO strategy that attracts qualified leads, boosts rankings, and drives consistent revenue. Step-by-step framework with real growth tactics
A Webflow Premium Partner is an agency at the top tier of Webflow's official partner program.
Quick Turnaround. No Contracts. Cancel Anytime. Book a 30 minutes consulting call with our expert.